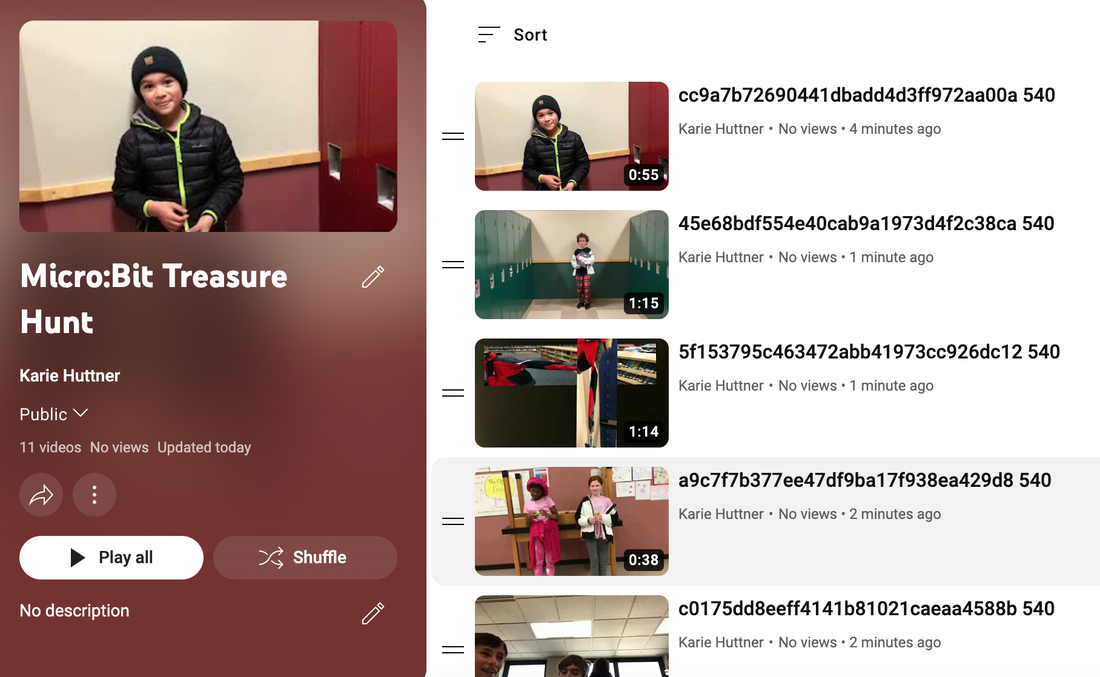
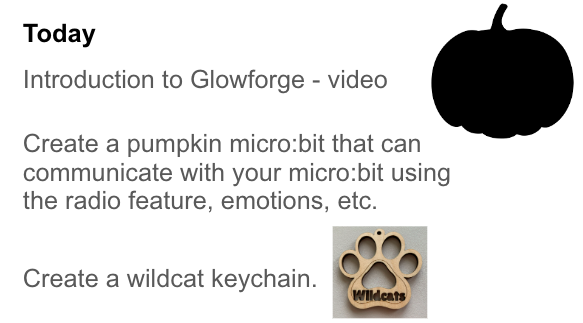
One of my favorite features in programming the micro:bit has been using the radio feature. Designers learned about how to program the micro:bit to use its radio function and then were challenged to create a Treasure Hunt for their partners in mentorship to experience. |
|
0 Comments
Designers also shared their new found coding skills with the teleporting duck activity as a preview of next week's Treasure Hunt with the Micro:bit.
Lastly designers had time to explore and design in Challenge Central of Makers Empire.
Student CreationsI absolutely love how each designer or designing team took the challenge in a different direction.
Any chance that I get to have my designers participate in a virtual field trip with CodeJoy, I take. Each session has been different but inspiring for both me and my designers. I love the thought behind the learning activities and the simple materials that we can replicate in our classroom with our Micro:bits.
This week designers explored the intersection of technology, coding, and creating inspired by Rosie Revere Engineer.
S - Design Thinking StoryOzobot Research
Designers teamed up to research influential woman coders in different industries, create a timeline of important accomplishments, color code the Ozobot path, and record their final research together on Flip.
T - Technology Exploration
Designers learned about how the radio function in the micro:bit works and practiced transporting virtual ducks and more.
E - Engineering Exploration
Designers learned about how servos work. Using the Bit:Explorer and micro:bit, designers coded a rotational servo.
M - Making
Designer were challenged to apply their radio and servo programming skills together.
Learning Target: Learn about, explore, and use different types of technology to make music.
S (Design Thinking Story) - Trombone Shorty
Success Criteria: I will learn about an American Musician who is influencing music today while watching an Edpuzzle to answer comprehension questions about the story.
T (Technology Exploration) - Evo Coded MusicSuccess Criteria: I will code my Ozobot Evo using Ozoblockly to create a musical light movement sequence and record my final design in Flip. My program will have a minimum of 3-5 notes, 2-3 movements, and 1-2 light changes. E - (Engineering Exploration) - Chrome Music Lab
Success Criteria: I can use Chrome Music Lab to create original music and share it to Flip using screen recording.
M - (Making) Micro:Bit Instrument
Success Criteria: I can create a cardboard instrument of my choice, add an original coded program to my Micro:bit, and share it in Flip.
Ask and Understand
The following day designers chose a coding challenge with the Micro:bit that connects to a Global Goal challenge using the Micro:Bit website. Student Reflections
Our designers debuted their designs with their mentor partners this Friday.
Using several days of designing interlaced with tutorial videos to expand coding options, the goal was to give teams a chance to really reimagine their initial design so that we would not have a mini golf course full of only windmills.
Micro:Bit Light Sensor EdpuzzleMicro:Bit Radio EdpuzzleDesigner ReflectionsBest Iteration Flip Student Designs
First IterationsStudent Reflections
Global Maker Day PresentationMakers Empire - Making MonstersCookiecad and Monster Making Cookie Cutters
LAUNCH of Talking Object in Flip
This project inspired by Cecilia Hillway's presentation at Make: Education Forum this past September was a challenge that required partners to work together both in their code and in their physical design. I'm going to start by showcasing the final product that was created through productive struggle.
Highlight and Fix
Create
Also plugging servos into the Bit:explorer incorrectly were aha moments. Reseting the micro:bit with a battery pack and then adding the micro:bit back to the Bit:explorer was part of the process for some teams who struggled to reach the reset button which is essential with iPads and micro:bits. Of course recognizing that a micro:bit can't be powered by a battery pack and the Bit:explorer at the same time was also an important discovery.
Navigate Ideas
Which code works better? I modeled the code that I had learned and quickly modeled how you can make mistakes. So I showed how both codes worked. No code is the only way to do something. My code has more than its share of room for improvement but it provided a starting point.
Understand
Having never done this project before, the only example that I had was the one that I created. It took me several hours to troubleshoot my design and I quickly realized that it was an important scaffold to show step by step how I created both the base of my physical design and my code.
Ask Questions
What do we need to know about the code? What do we need to know about the physical design? What do we need to know about servos? I used an edpuzzle to start building the understanding of one of the important components of the project.
Look, Listen, and Learn
Introducing the Bit:explorer as well as creating scaffolds for the use of the servo and a sample project built a beginning foundation to understand what we would be doing.
The Week's Plan
Working TogetherA few weeks back my donor's choose project for 2 class sets of Bit:explorers was funded and today was the first day of having designers use the Bit:explorer. Preparing the Bit:ExplorerIntroducing the Bit:Explorer to DesignersSo hindsight being 20/20, I should have created an intro video to the bit:explorer instead of just handing them out. Sure I had put a preset program on each of them but I should have known the importance of overviewing a new hardware piece. Here is how I should have introduced the bit:explorer. Servos and Sound Input
Talking Code Tutorial VideoTalking Code TestScaffolding AnglesThanks to the Glowforge, I created a cardboard scaffold for the servo to sit inside. I've included the file below.
My Design Process
U - Understand the Problem or Process I looked at what I was already doing and decided to improve my How I Met My Monster STEM story learning. I remembered that Kelsey introduced gestures and the accelerometer of the Micro:bit so I knew that I wanted to break up the lesson with specific focuses. I gathered the resources that I had available that could also be used in my classroom. N - Navigate Ideas I love the color orange and I wanted my monster to be an active monster so I decided on creating an exercise monster with my Glowforge cardboard cut monster. I started with decorating my monster with the materials that I had.
Monster Lesson Update
After listening to the story, designers will select their cardboard monster and start to use different materials to design their physical monster.
|
Archives
March 2024
Categories
All
|