| This project was inspired by the CodeJoy activities. The first iteration that I shared was based on the Project Trix Virtual Pet activity - blog post Monsters in STEM. In the first iteration, you will find the story How I Met My Monster as well as examples and svg files for creating your own cardboard monsters. The second iteration I am sharing is from the CodeJoy PD with Python and is based on the Homework: Make a Friend. | 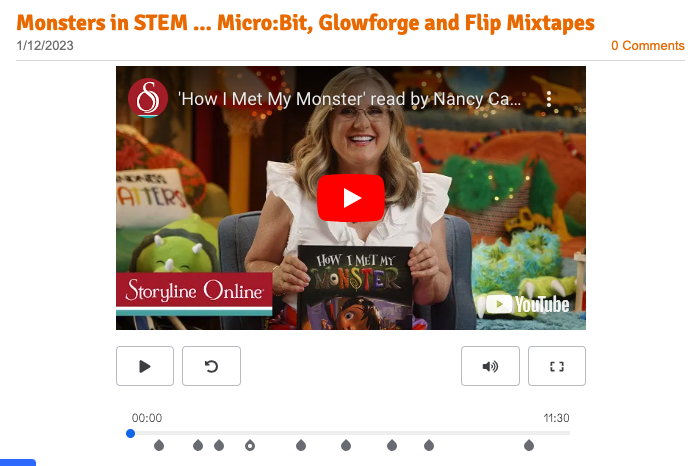 |
My Design Process
| My design process in a nut shell. L - Look, Listen, Learn I started by looking at the criteria and my own material constraints. I knew that I wanted to use this project in my classroom so first I looked at what I was already doing. A - Ask Questions Where could this enhance learning that was already taking place? What story would it already connect to? What materials did I have access to that my students would also have access to? How much time did I have? | |
U - Understand the Problem or Process
I looked at what I was already doing and decided to improve my How I Met My Monster STEM story learning. I remembered that Kelsey introduced gestures and the accelerometer of the Micro:bit so I knew that I wanted to break up the lesson with specific focuses. I gathered the resources that I had available that could also be used in my classroom.
N - Navigate Ideas
I love the color orange and I wanted my monster to be an active monster so I decided on creating an exercise monster with my Glowforge cardboard cut monster. I started with decorating my monster with the materials that I had.
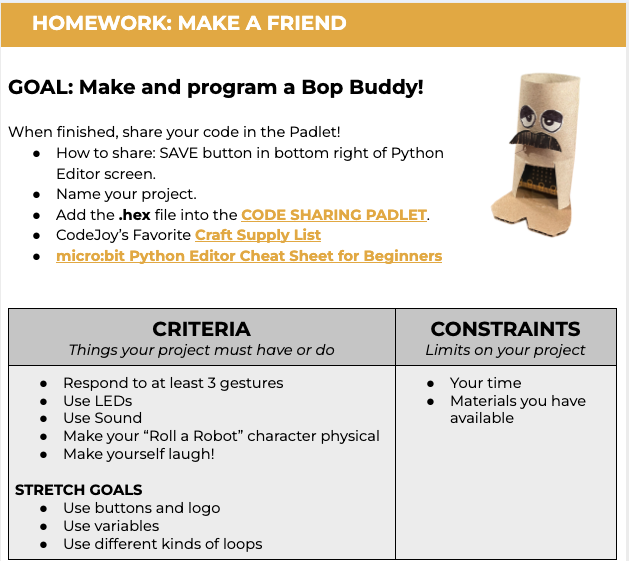
| C - Create a Prototype When I had my physical monster designed, I started to work on the coding. For my project, my challenge was to code it in Python. I used the sample code to start and then adapted it to fit what I wanted my own design to do. I downloaded the code, tested it, and then modified it. H - Highlight and Fix Given more time, I would have adapted my code to only be the mouth and removed the eyes from the visual. | |
| exercise_monster.hex |
Monster Lesson Update
| Day 1: With my students, I will start with the Design Thinking Story of How I Met My Monster through an Edpuzzle. I choose Edpuzzles because I want students to be able to have the time to listen to a story and respond to comprehension questions about the story. I have found for my second language learners Edpuzzle are a powerful tool that removes the stress and distractions of watching a video as a whole group. It also gives me an opportunity to learn more about how each designer responds to the questions. |  |
After listening to the story, designers will select their cardboard monster and start to use different materials to design their physical monster.
| Day 2: I introduce the accelerometer of the Micro:bit and designers engage in designing different gestures. Designers also have additional time to work on their physical monster after having programmed different gestures. | |
| Day 3: Creating the Micro: Bit Virtual Monster is the culmination of learning about gestures using the Micro: bit accelerometer with the physical monster. I introduce the criteria for the final project. I share sample code that designers might choose to start with as well as examples from previous designers. Designers have time to bring their first iteration together and record it on Flip to share with each other. | |
| Day 4: I have always found that some designers need additional work time. It is this day where Flip becomes an important part of our sharing process. For the designers who have completed their virtual monster, they are able to access everyone's design and leave constructive positive comments. | |
 RSS Feed
